Hey Guys!
We are on Day 10 of Follow Me Through Fall, and today we’re making a Loaded Pocket Sticker Book!
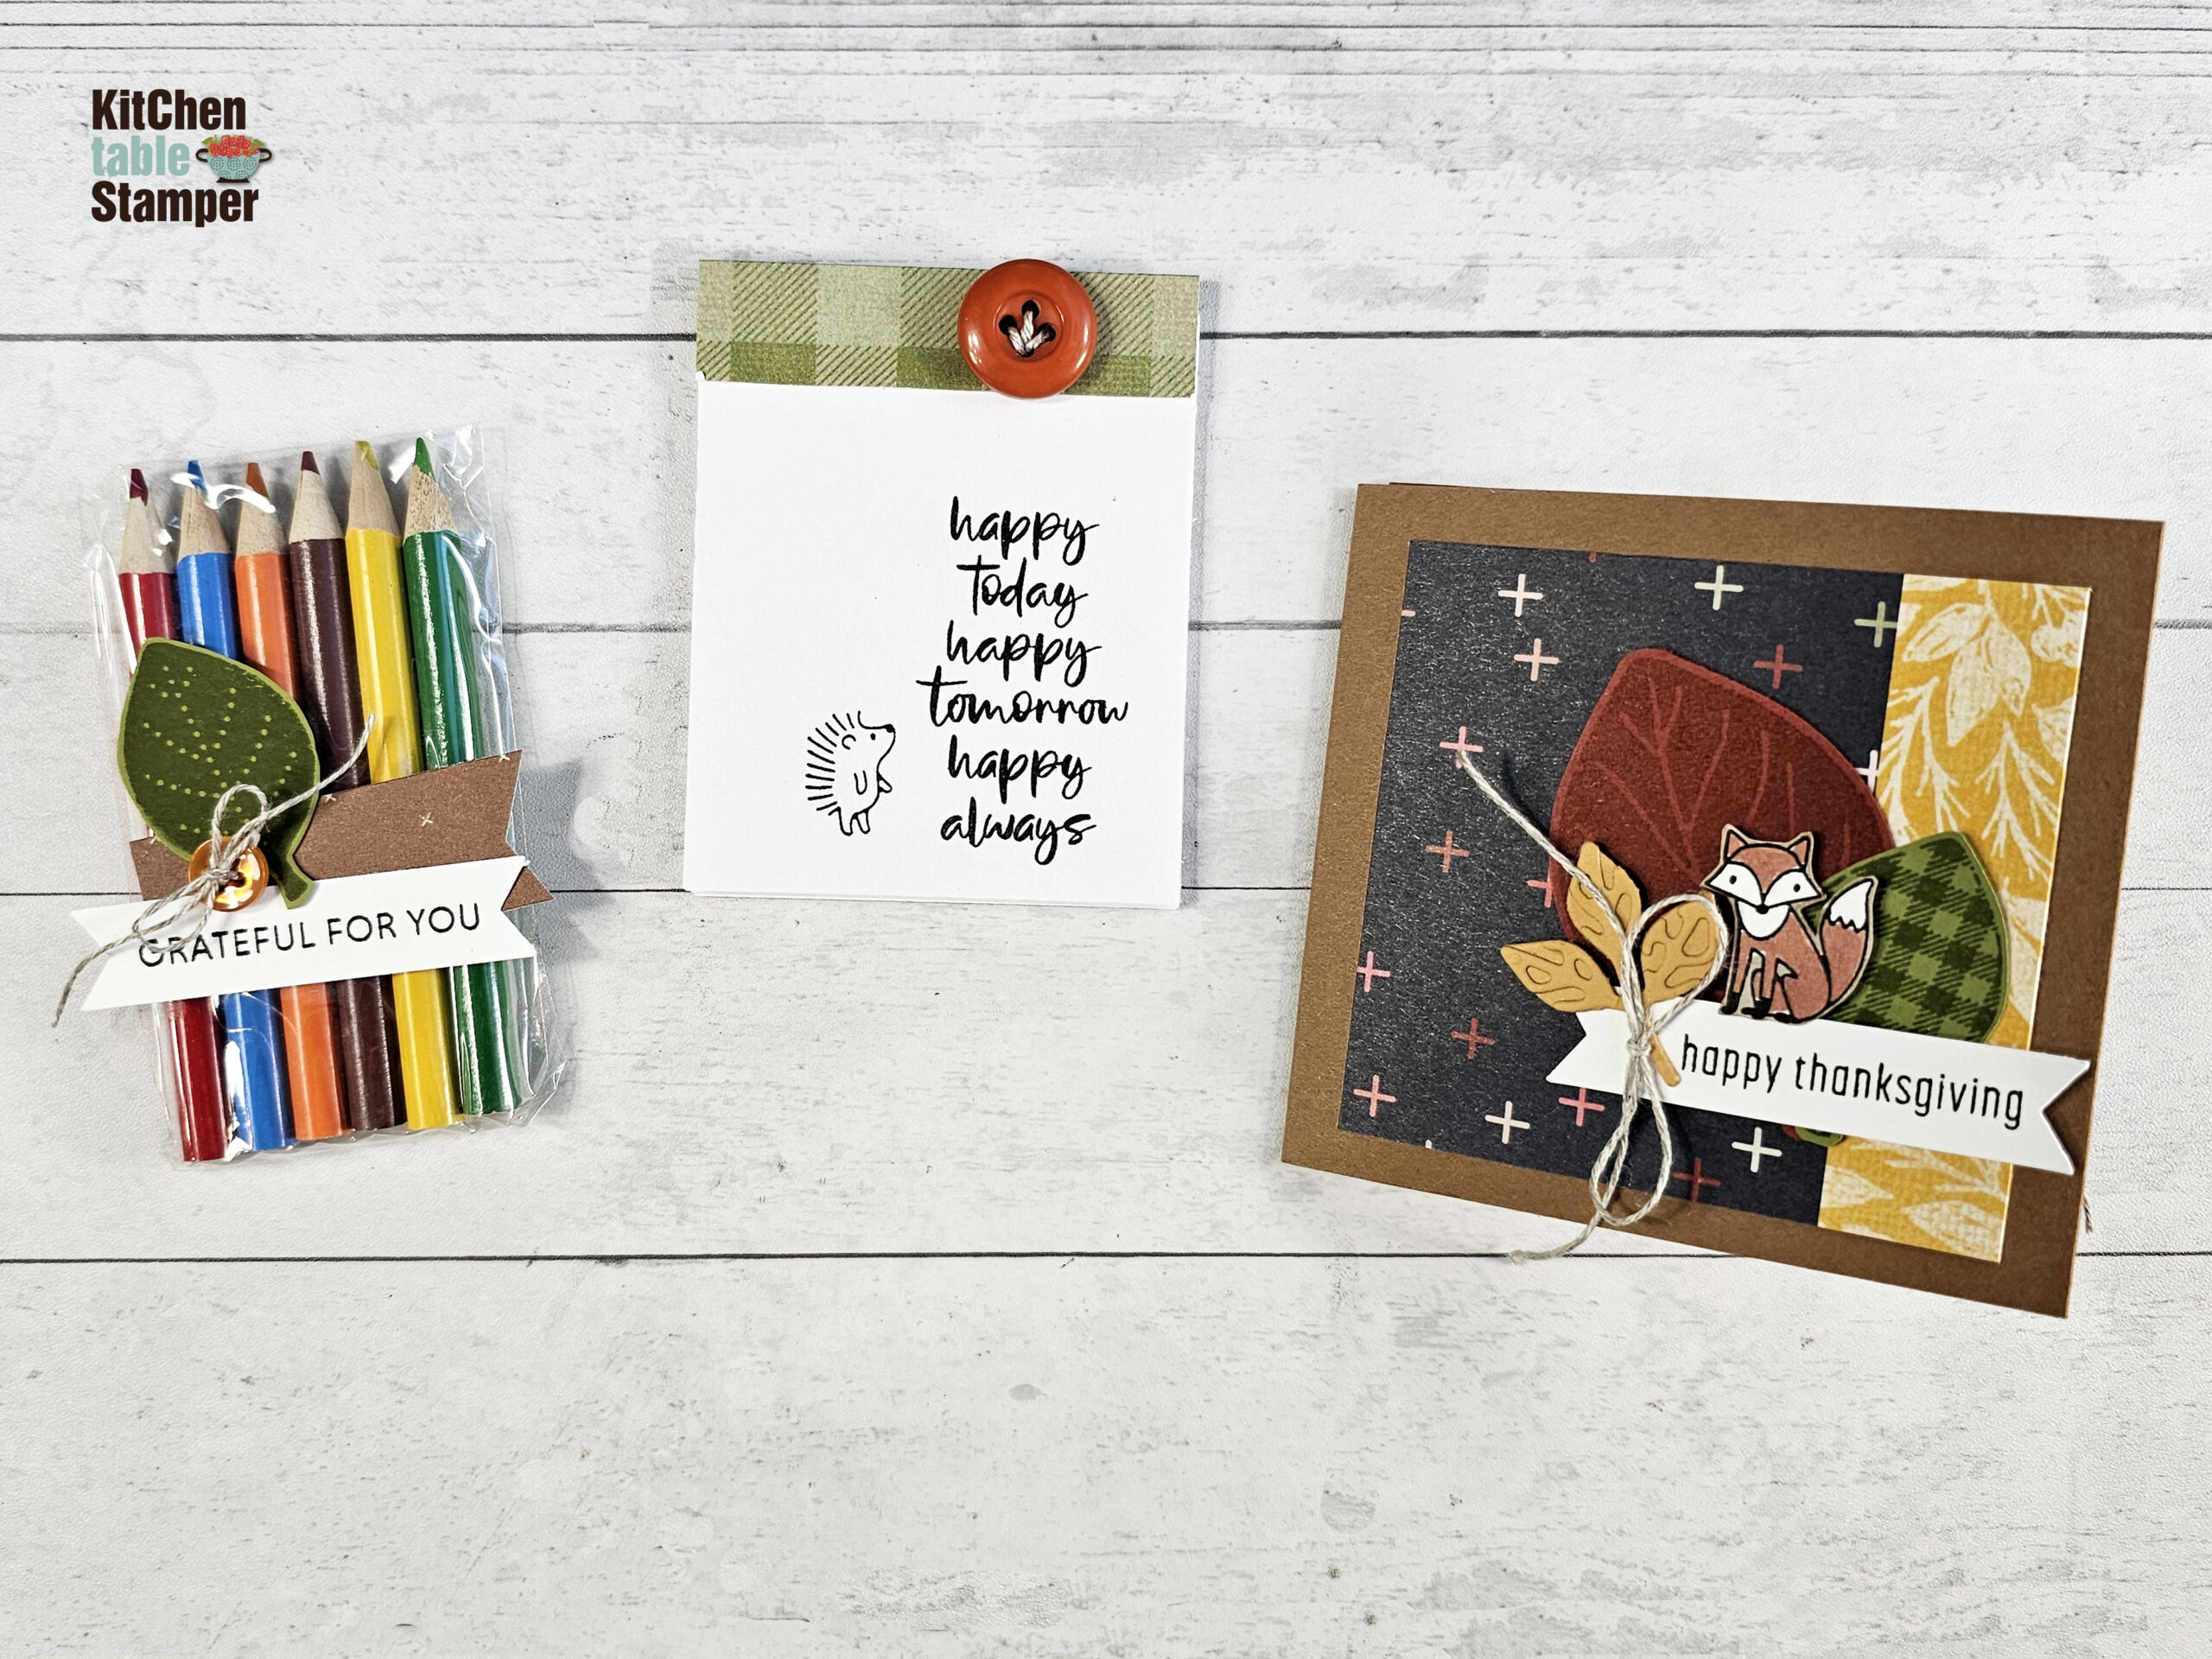
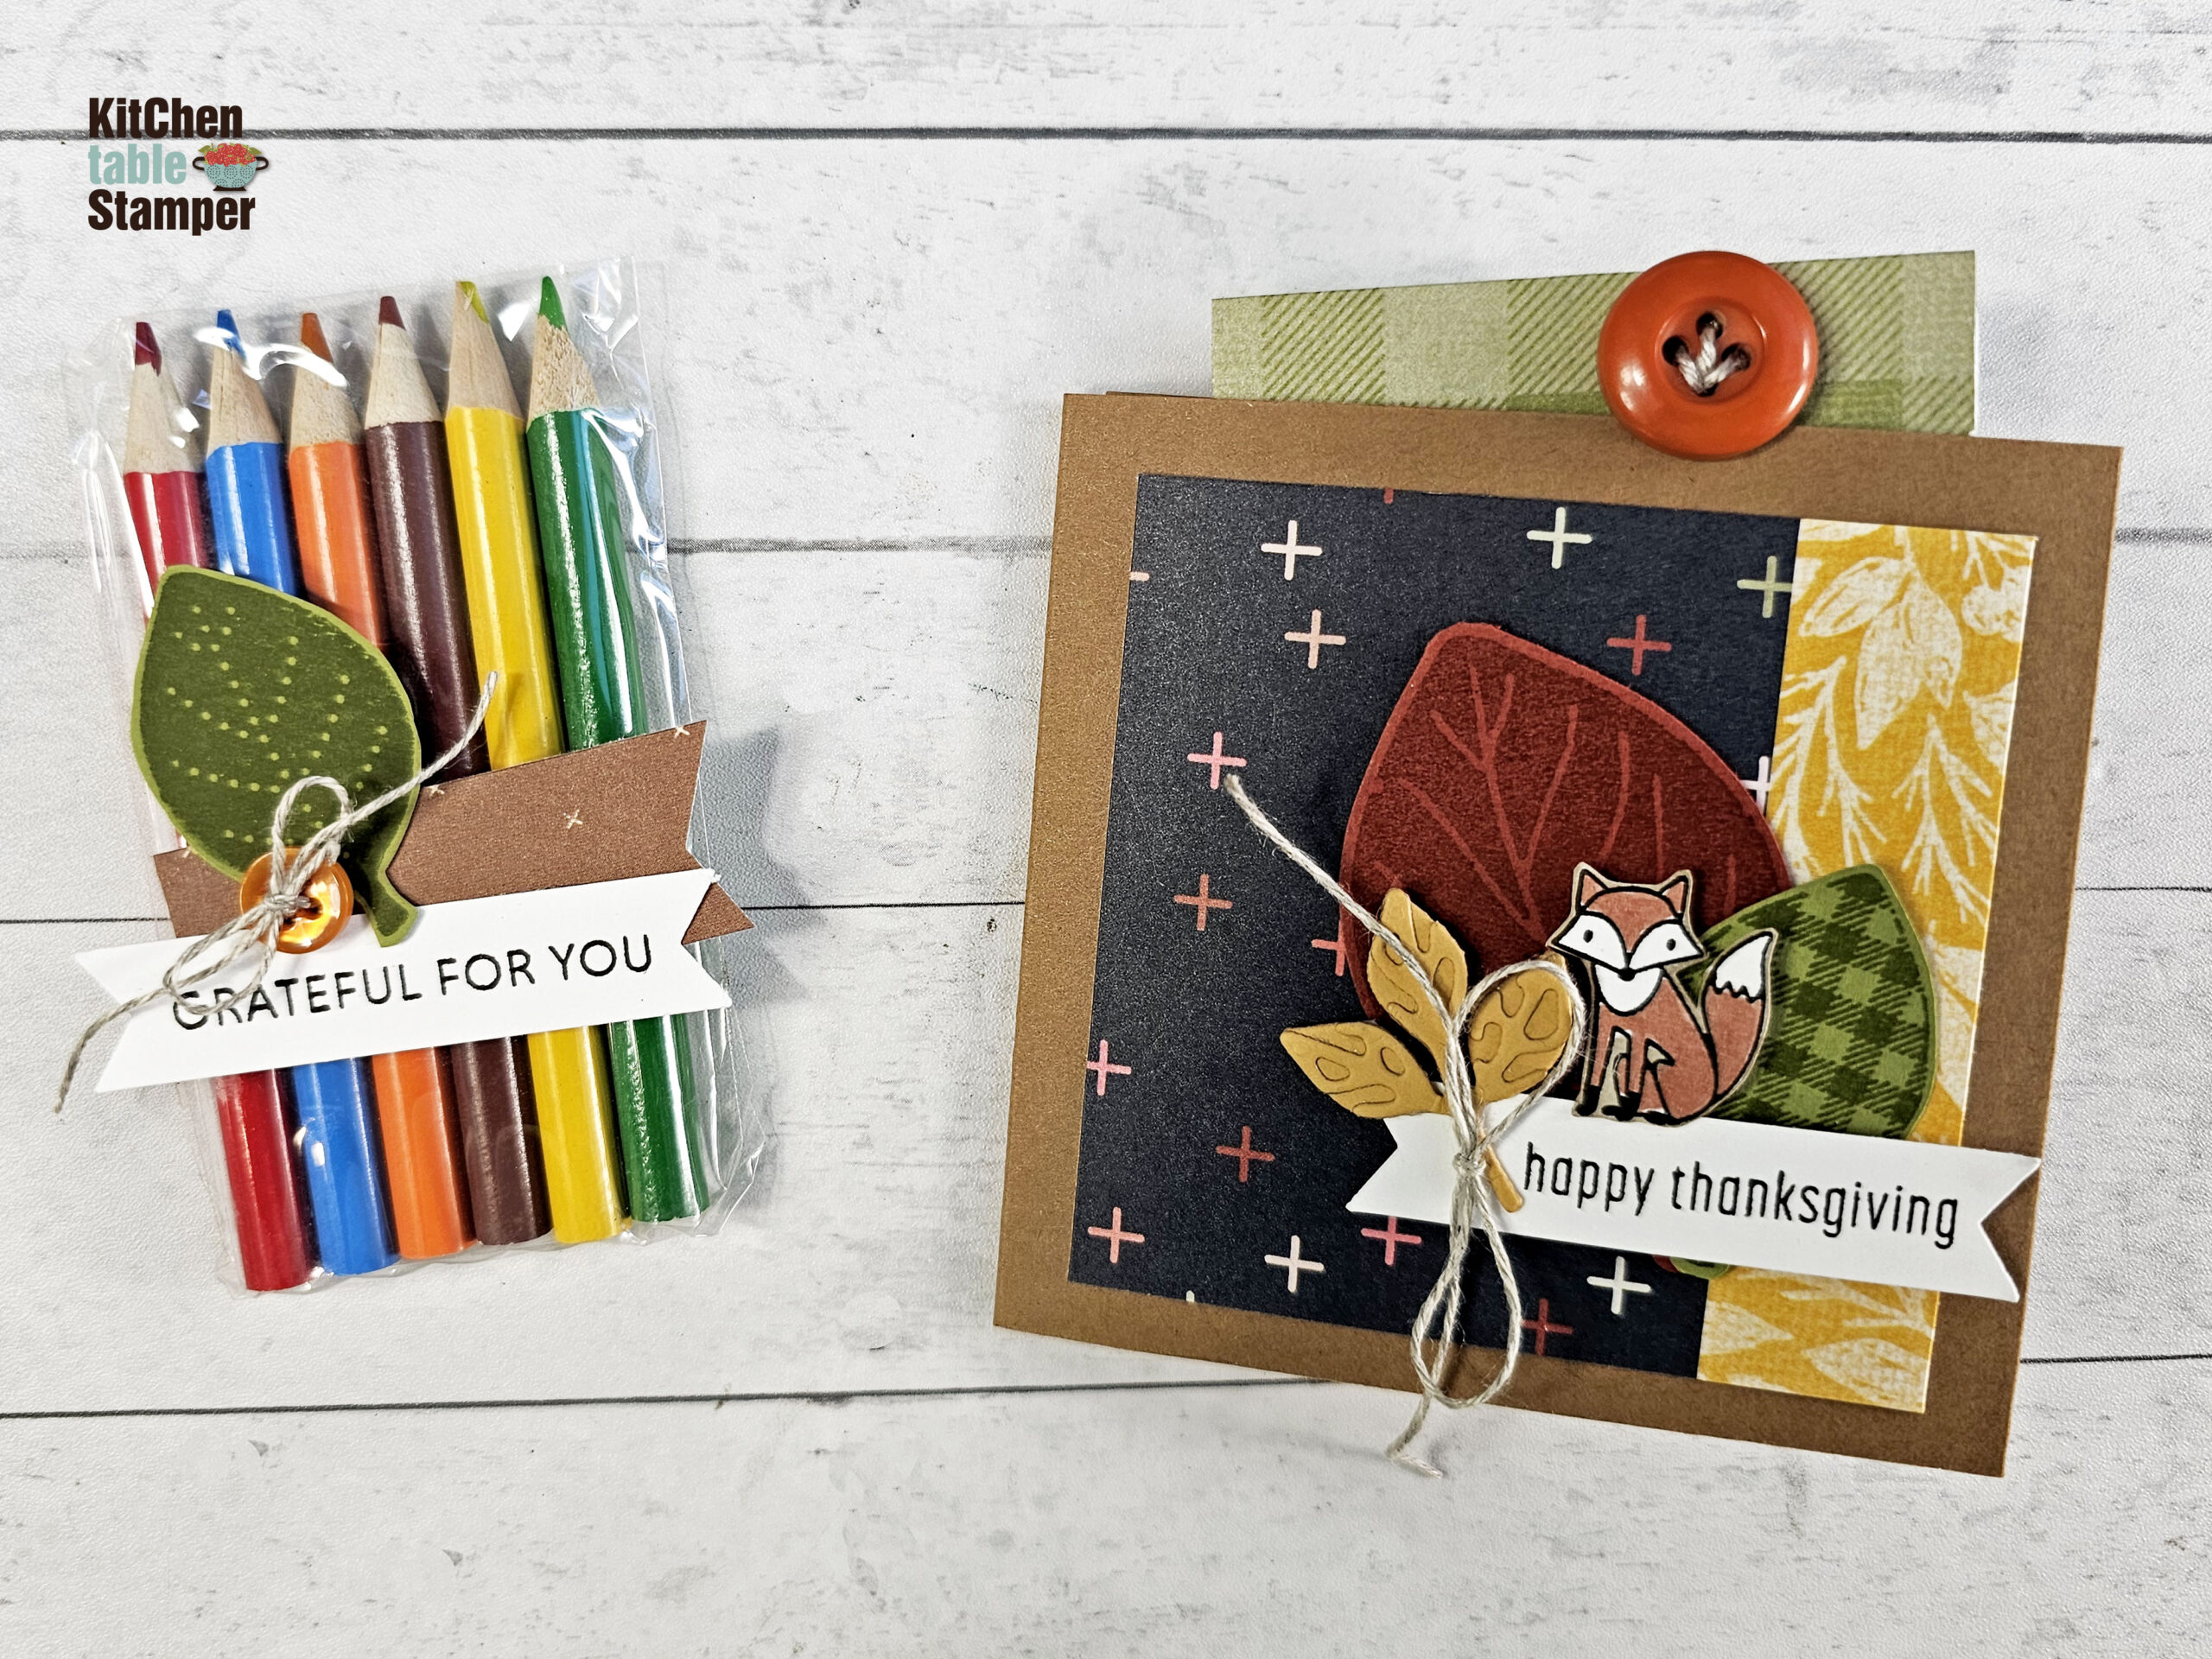
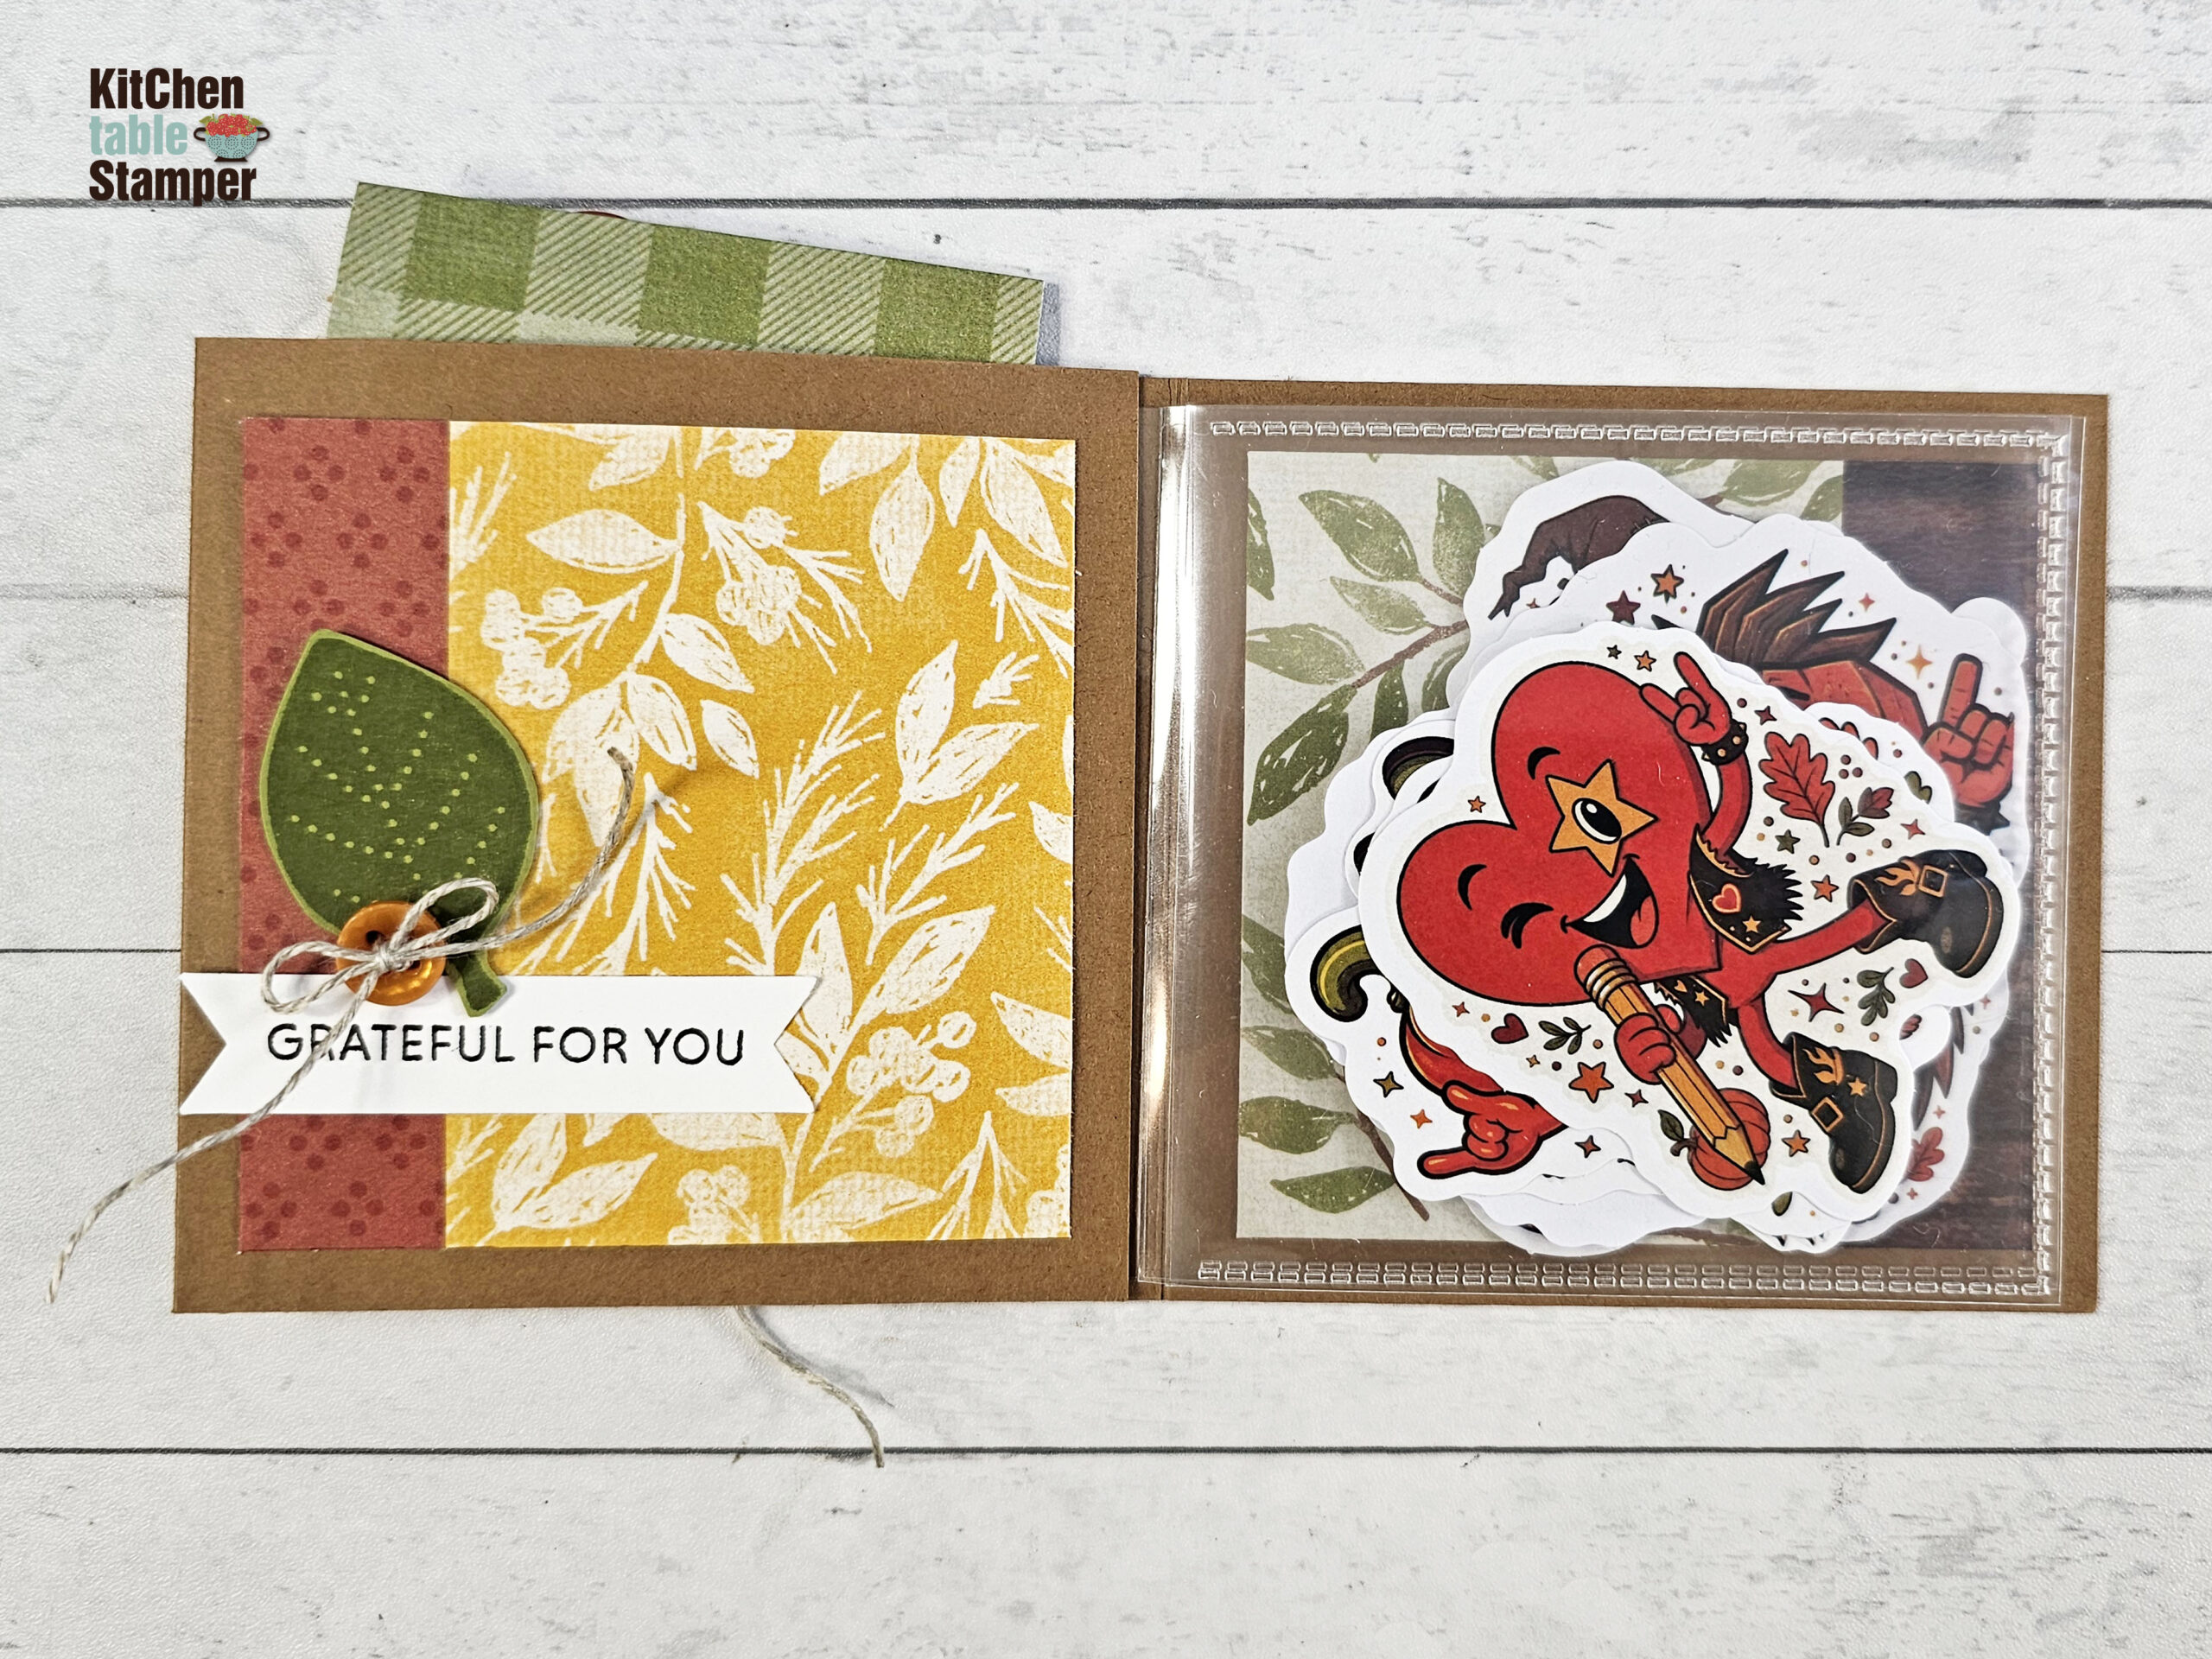
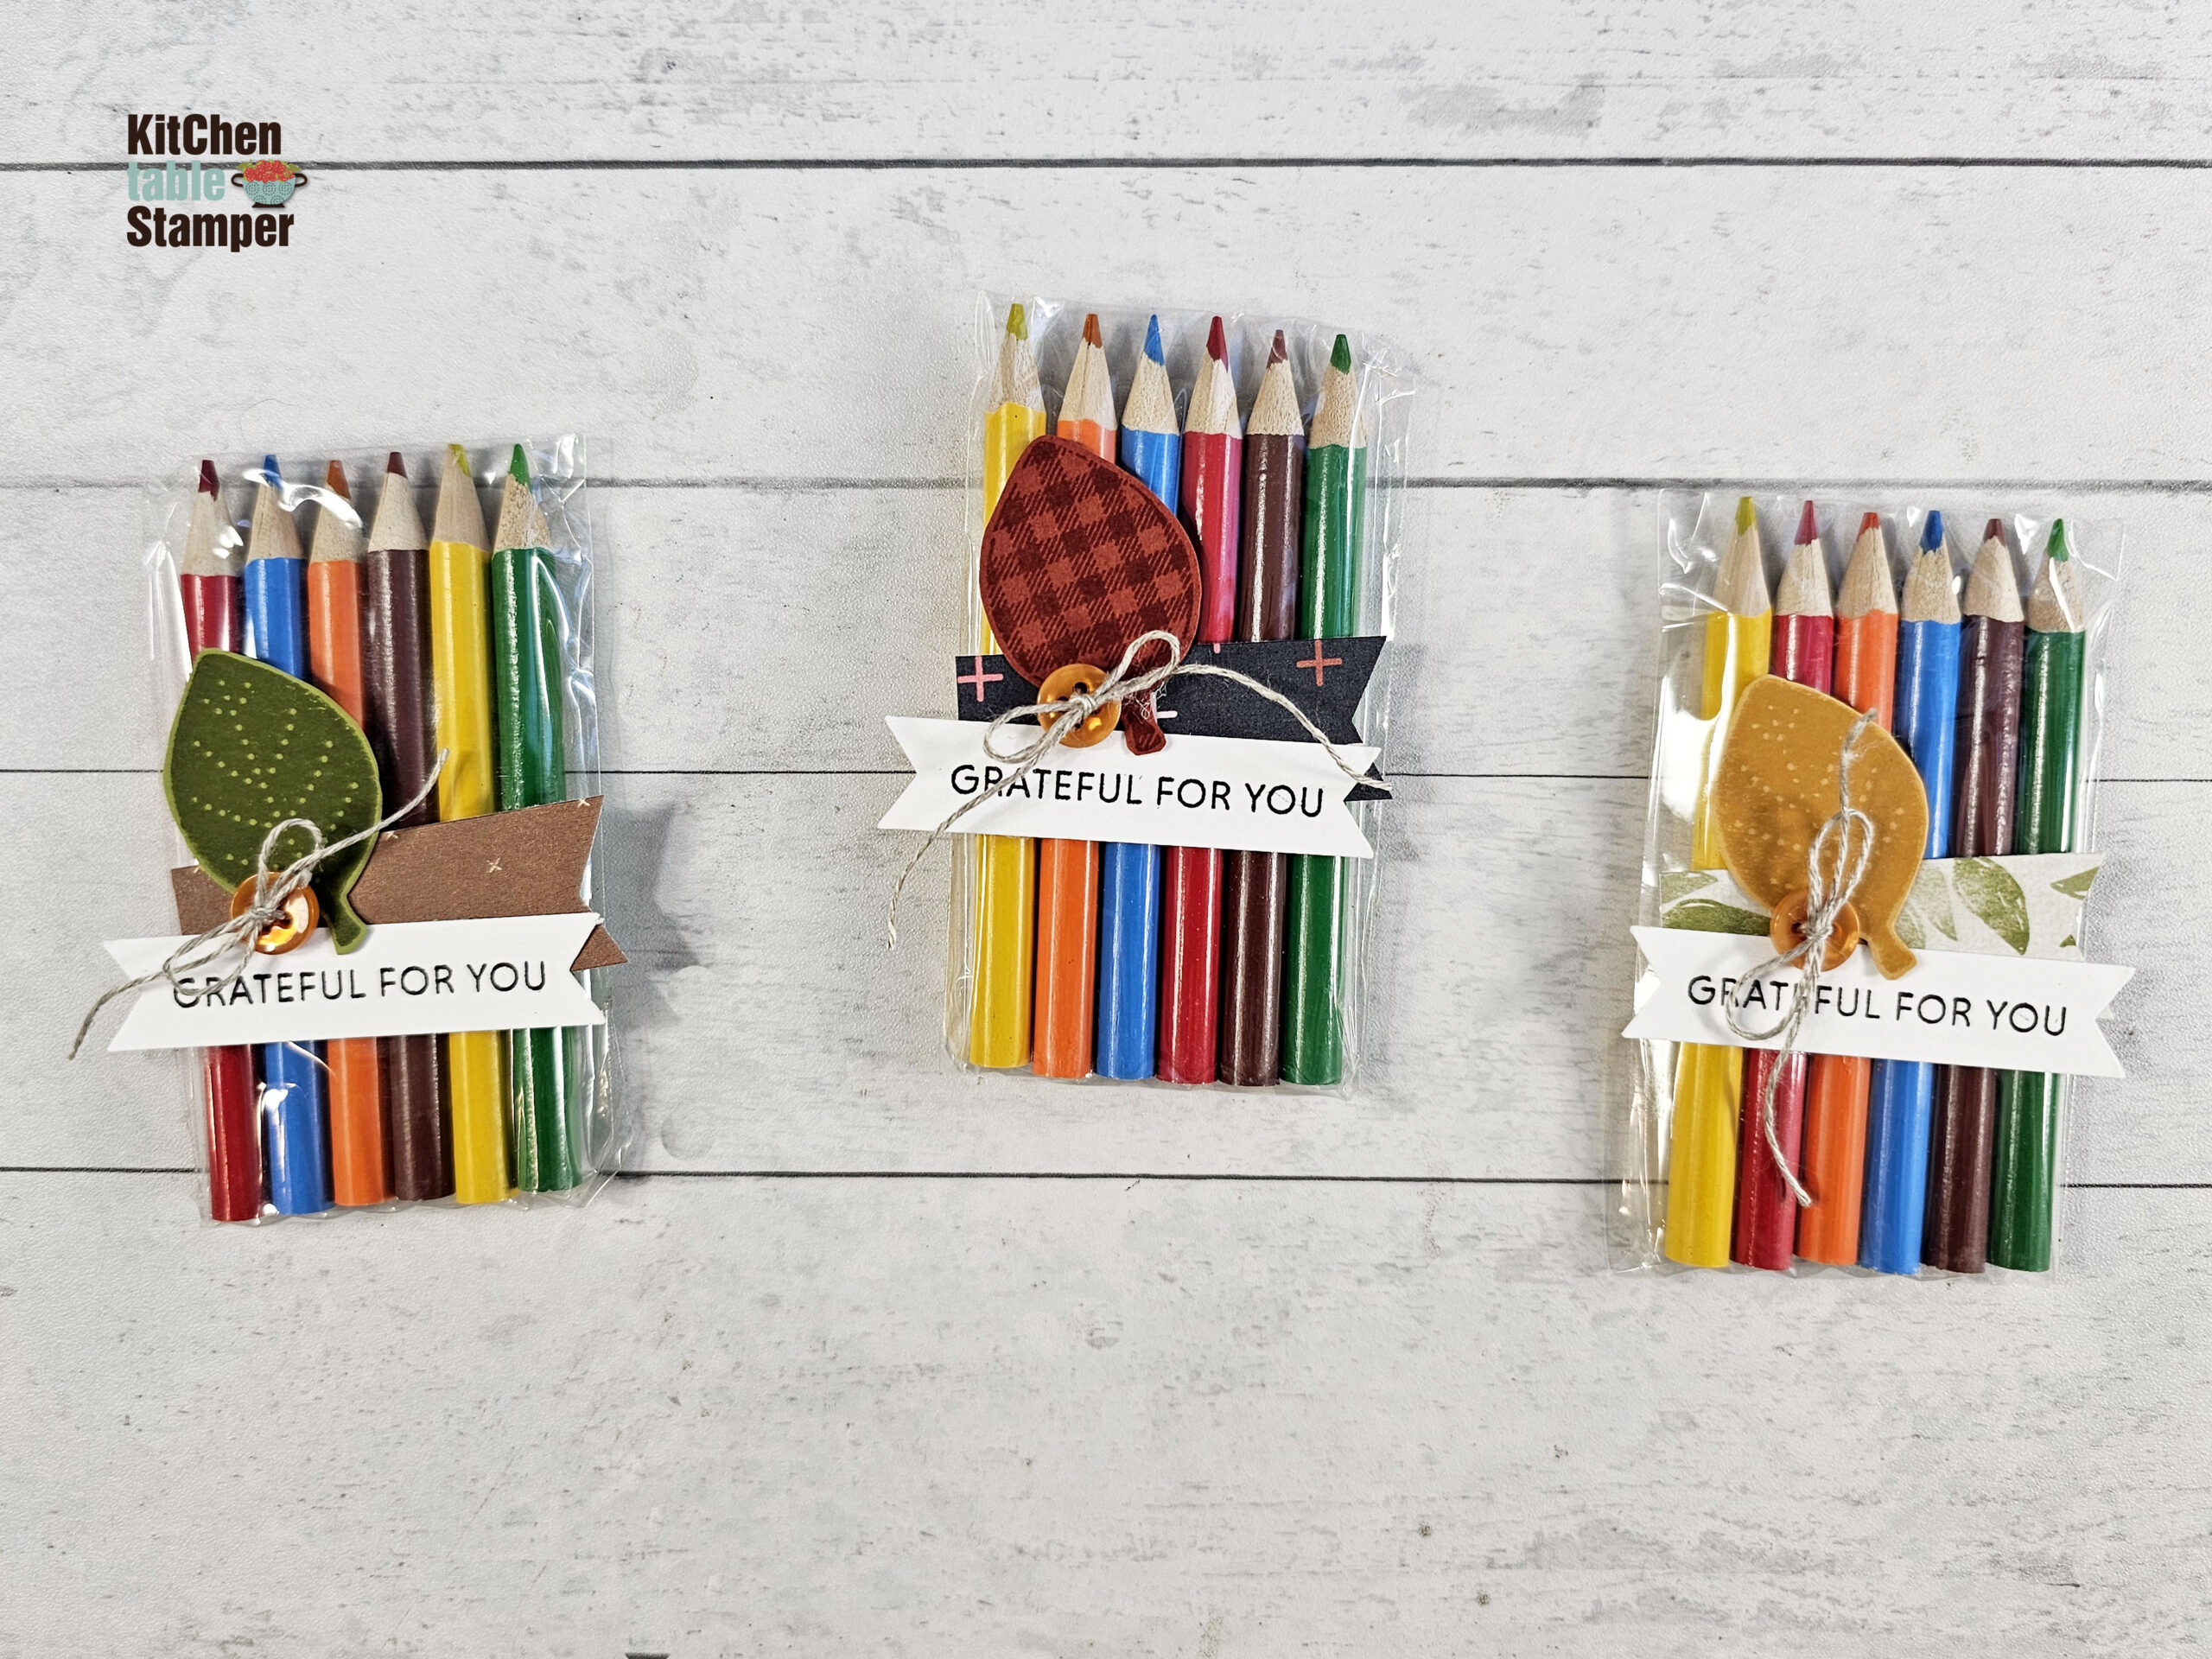
This little book is made from cardstock and Stampin’ Up! Flip Flaps which make pockets inside for all kinds of little surprises. I filled mine with Thanksgiving Stickers, a handmade Flip Book Doodle Pad and Mini Colored Pencils.
The best part? Once you know how to make the book, you can change what’s inside and make it again for all kinds of occasions.
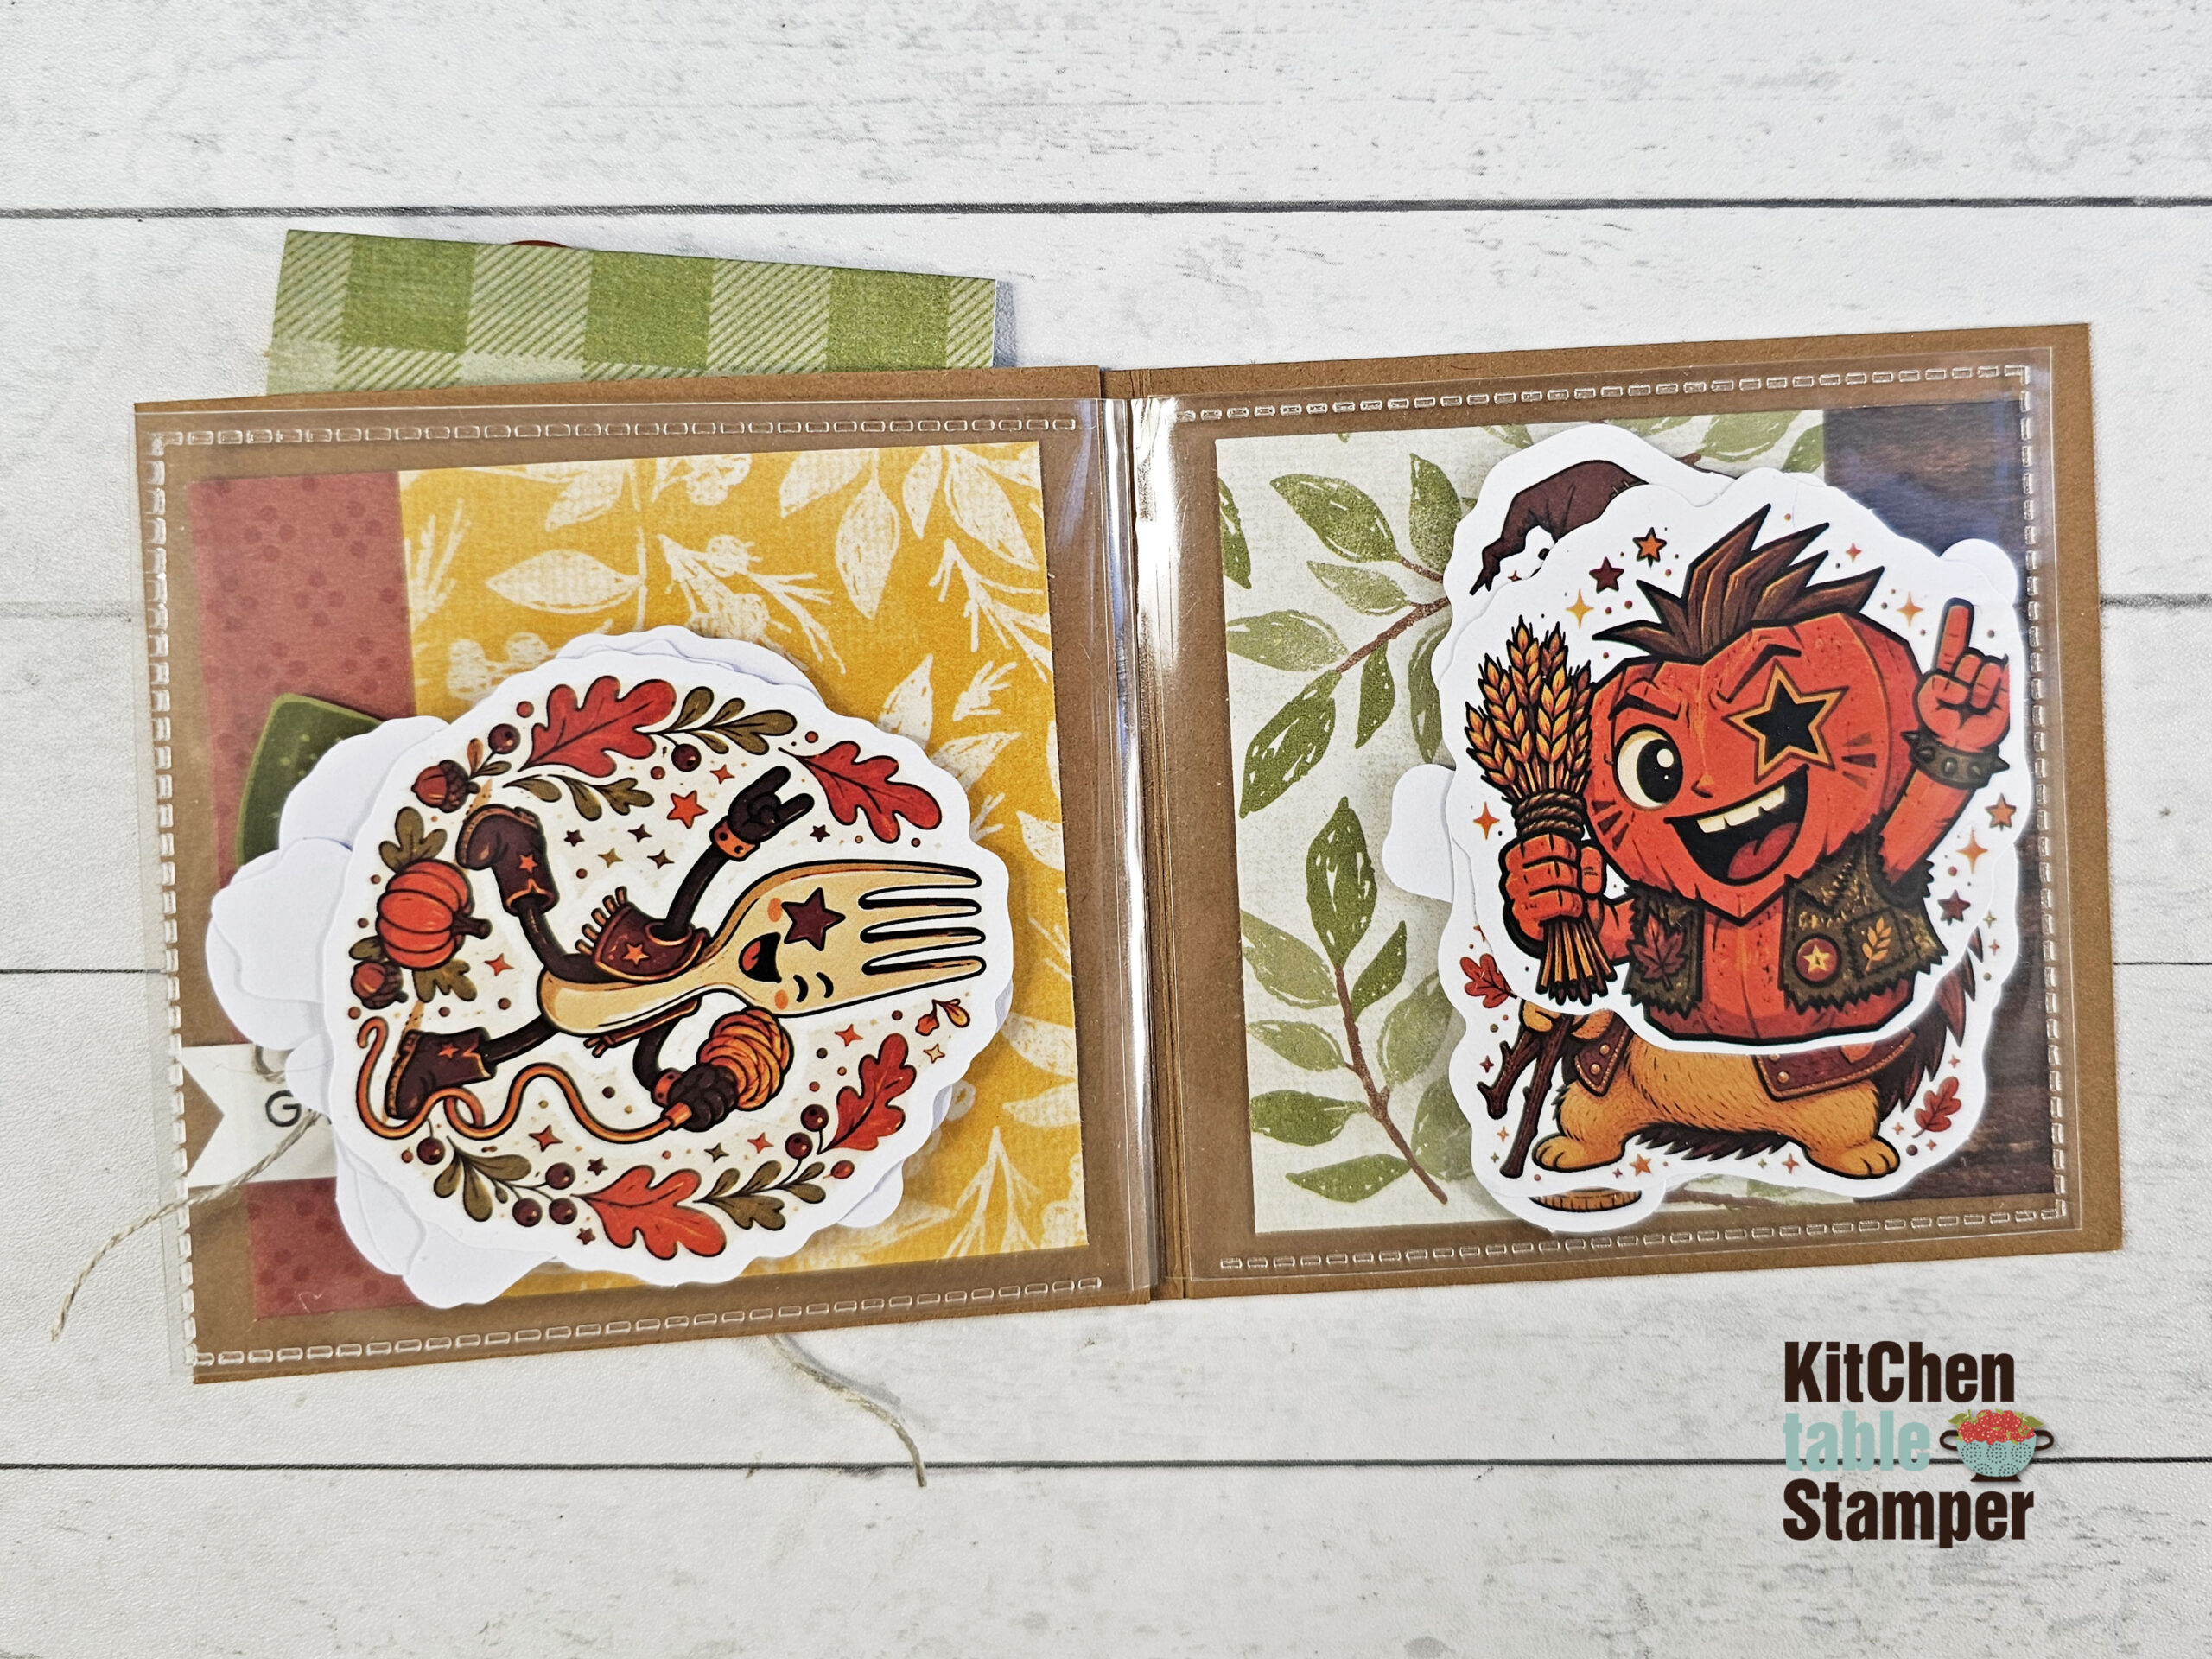
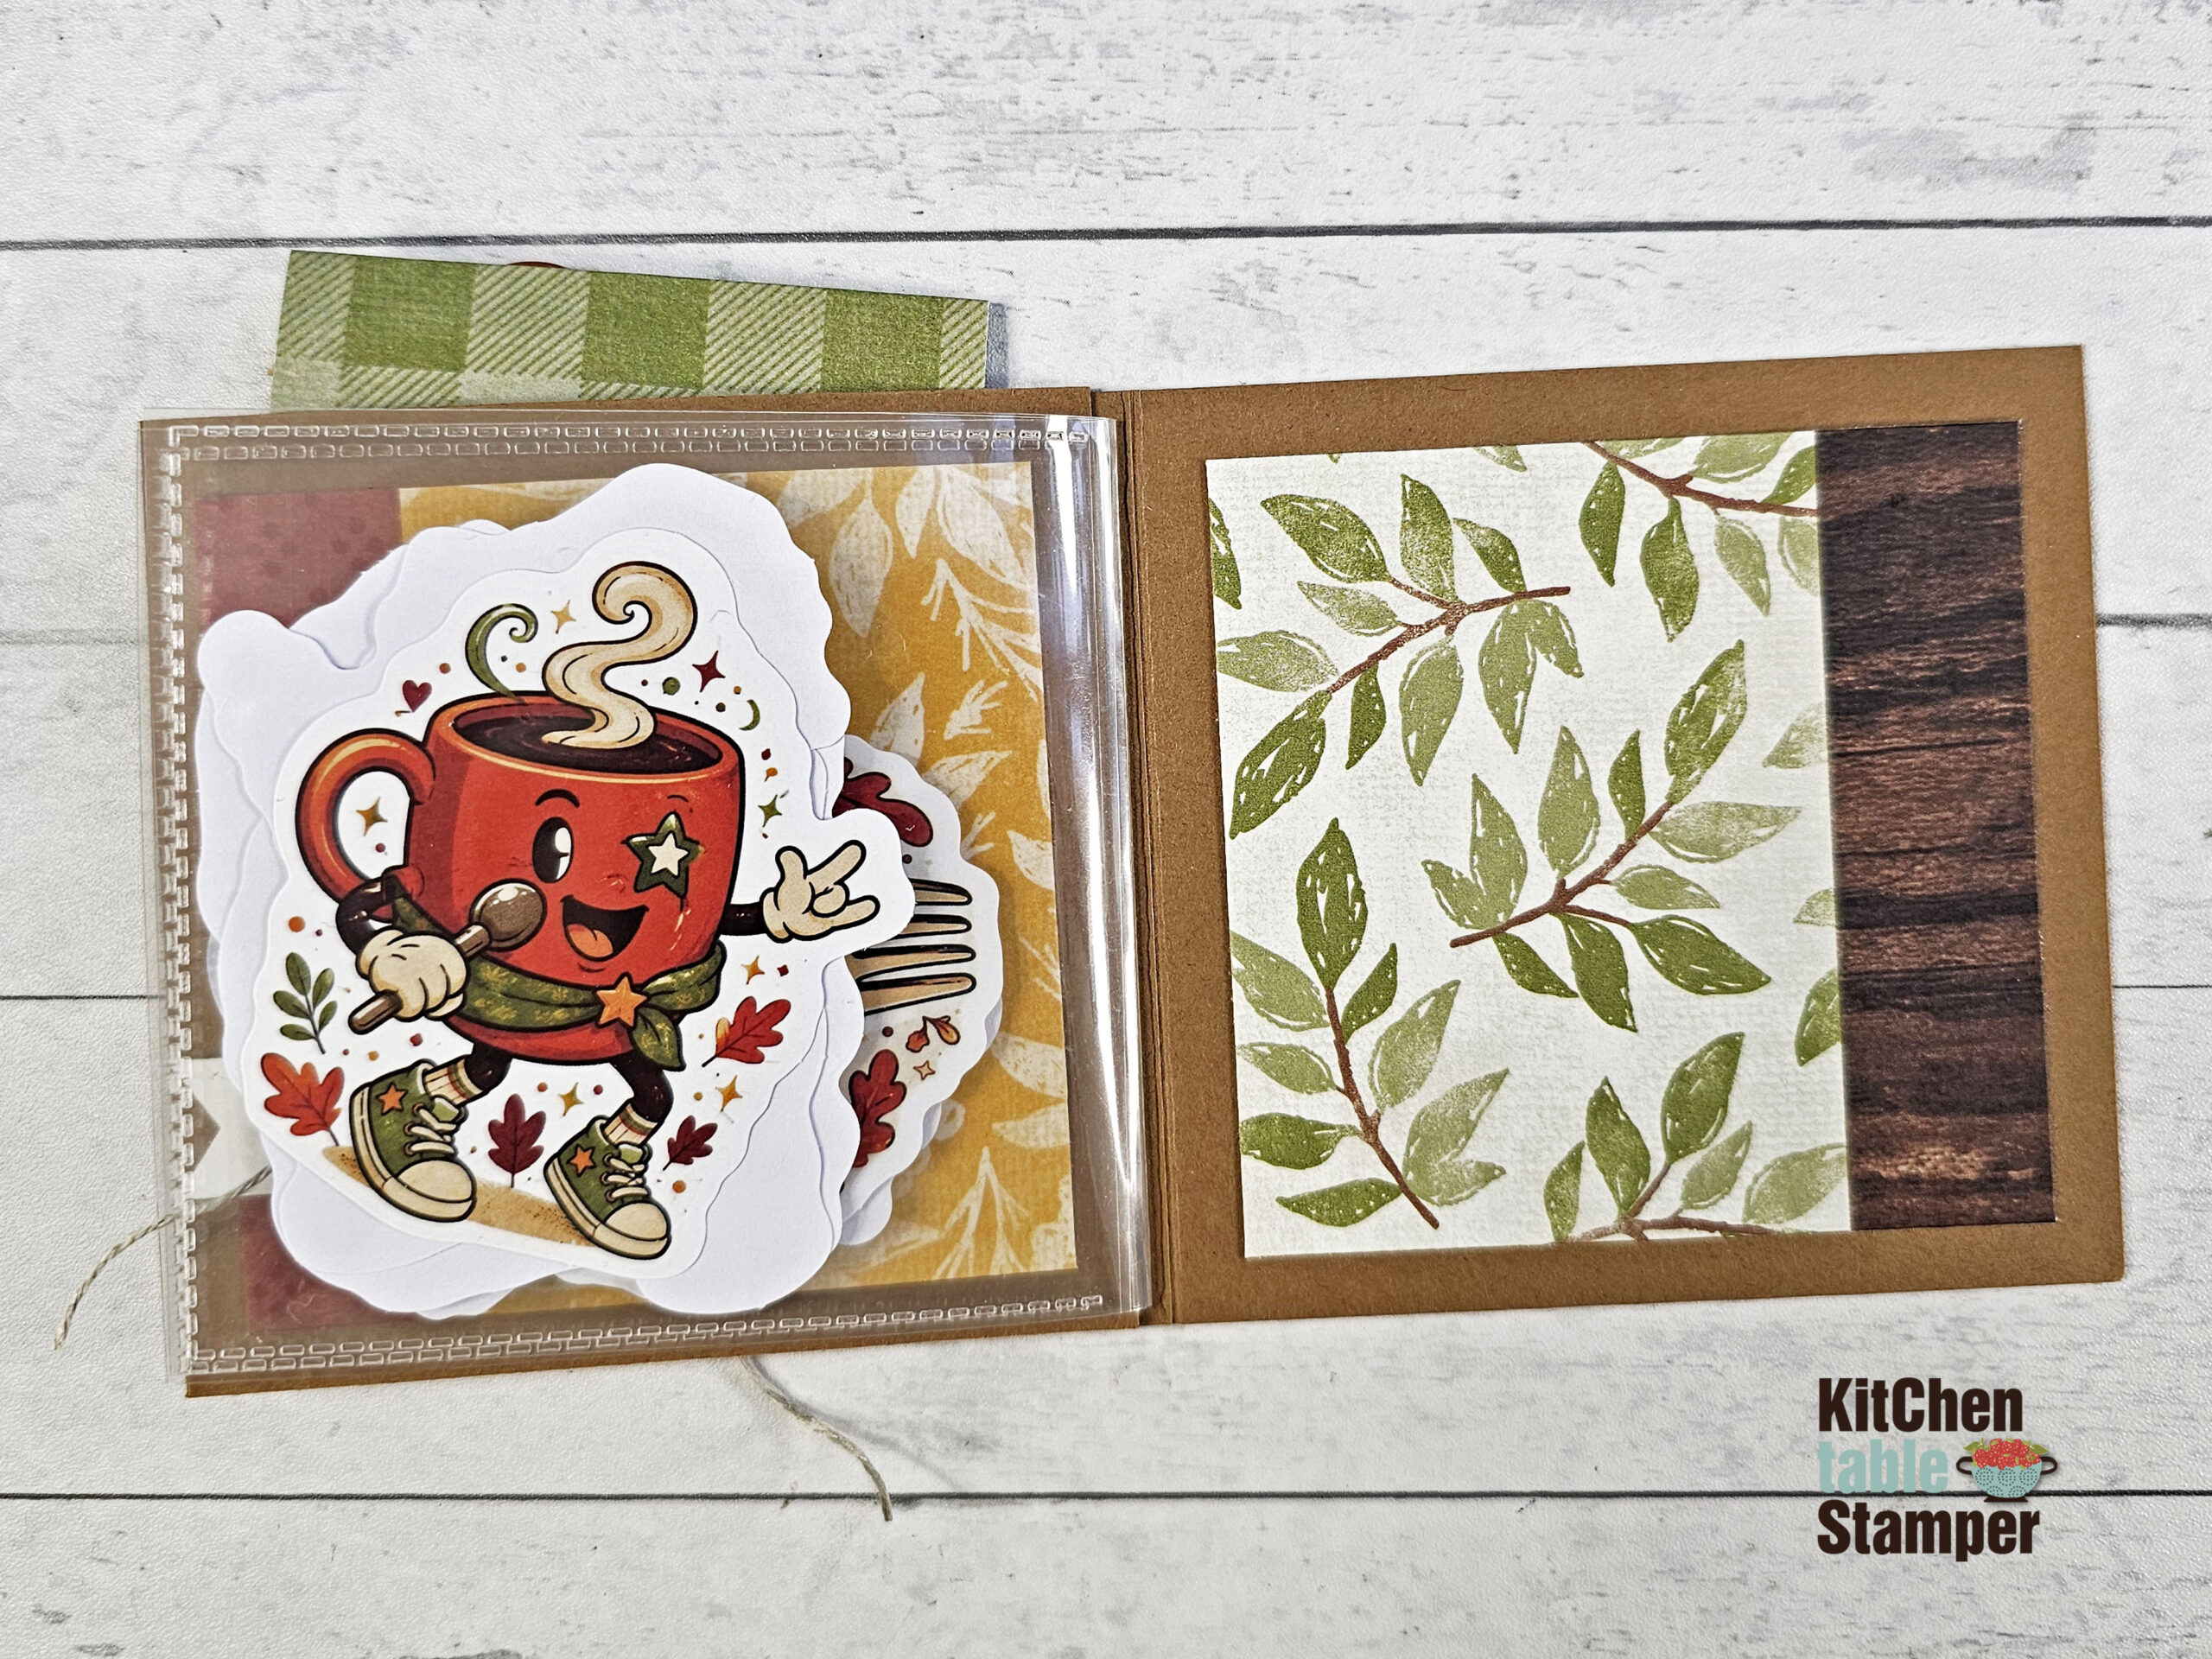
Make the Loaded Pocket Sticker Book With Me
If you missed this morning’s LIVE, you can craft along with the replay. I’ll show you how to make the book, the pockets and the little doodle pad step-by-step.
Download the printable project sheet below, gather your supplies and come make one with me!
Gather your supplies and follow along with the tutorial to create your own Loaded Pocket Sticker Book!
Fill Your Loaded Pocket Sticker Book
I used a few inexpensive little goodies to construct and fill my pockets:
Mini Colored Pencils, Amazon – CLICK HERE
Thanksgiving Stickers, Amazon – CLICK HERE
Tim Holtz Tiny Attacher, Amazon – CLICK HERE
Fine Tip Glue Squeeze Bottles, Amazon – CLICK HERE
You don’t have to fill yours exactly like mine. Once you’ve made the book, look around for other little flat treats, stickers, notes or crafty goodies that will fit inside.
That’s the part I want you to take away from today’s project: learn the construction once, then make it your own.
Don’t Miss the Last Follow Me Through Fall Email Exclusive!
We aren’t done yet!
There is ONE final Follow Me Through Fall Email Exclusive coming Tuesday. If you’re not on the Kitchen Table Stamper email list, now is the time to join.
You’ll get Tuesday’s exclusive project in your inbox, and then we’ll wrap up Follow Me Through Fall together with Day 12 LIVE on Monday.
JOIN OUR EMAIL NOW!
Already subscribed? You’re all set! Watch your inbox Tuesday.
Ready to Make Your Own Loaded Pocket Sticker Books?
You can find all of the Stampin’ Up! supplies I used for today’s Loaded Pocket Sticker Book in the Supply List below.
The Key to This Project: 3″ x 3″ Flip Flaps
The 3″ x 3″ Flip Flaps are what make this little sticker book work! Instead of using them in a scrapbook, I used the Flip Flaps to create the pages for my sticker book. They’re the perfect size for the Thanksgiving stickers I tucked inside.
And now that you know how to turn Flip Flaps into pages, think about what else you could do with them! Flip Flaps come in other sizes too, so you can change the size of your book, what you tuck inside, or come up with a completely different project.
That’s my favorite kind of crafting — learn one idea, then use it to make something of your own.
Follow Me Through Fall Quick Links
Day 1 – Learn & Grow Bracelet Box Video 1 of 6 – CLICK HERE
Day 2 – Back to School Keychain Gift Box – First Email Exclusive
Day 3 – Spooktacular Quick Halloween Treat – Second Email Exclusive
Day 4 – Web of Fun Halloween Twinkie Box – Video 2 of 6 – CLICK HERE
Day 5 – Painted Pumpkin Boo Tote – Third Email Exclusive
Day 6 – Simply Leaves Sunflower Box Video 3 of 6 – CLICK HERE
Day 7 – Woodland Wishes Fox Box – You are Loved – Fourth Email Exclusive
Day 8 – Painted Pumpkins Beaded Craft Kit Video 4 of 6 – CLICK HERE
Day 9 – Elegant Leaves Gift Bag – Fifth Email Exclusive
Day 10 – Loaded Pocket Sticker Book – Video 5 of 6 – CLICK HERE
A Brand New Way to Join Stampin’ Up!
Enjoy more flexibility, exclusive perks, and the freedom to choose the products you love.
CLICK HERE to join